An effective roof inspection serves as a crucial preventative measure against costly repairs and unexpected damages. When you perform your DIY roof inspection during the summer, you are not only ensuring the longevity of your roofing system but also protecting your home from issues such as water damage, leaks, and mold growth. In today’s climate of increasing environmental stresses—from extreme heat to sudden hailstorms—it becomes essential to incorporate both traditional inspection techniques and modern tips such as infrared assessments and daylight observations. This article is designed to provide you with a detailed guide on what to look for during your roof inspection, covering everything from essential preparatory steps and tool selection to ground-level assessments and closer look at internal clues. We also discuss the importance of documenting findings and, if necessary, contacting professional roofing contractors. With a focus on safety and accuracy, every section presents actionable guidance that will help you evaluate the condition of your roof with confidence and precision. By the end of this guide, you will be well-equipped to identify signs of wear, detect hidden issues like corroded flashing or termite infestations, and even pinpoint potential water leaks that may affect your attic or soffit. This comprehensive approach will not only prolong the lifespan of your roof but also contribute significantly to your overall home maintenance strategy.
Essential Preparations for Your Summer DIY Roof Inspection
Before embarking on your summer DIY roof inspection, thorough planning and preparation are essential to ensure both safety and a high-quality evaluation. First and foremost, gathering the appropriate safety gear is a necessity. You will need a well-maintained ladder, non-slip work shoes, and a sturdy harness system if you are climbing onto the roof. Additional protective equipment, such as gloves, a hard hat, and safety glasses, should also be included. These items not only reduce the risk of injury from falls or sharp objects but also provide the necessary support when working near the roof’s edge.

Another critical aspect of preparation involves selecting the right tools for the inspection. Essential tools include a reliable flashlight (or headlamp), a measuring tape, and even an infrared camera if possible. An infrared thermometer can help detect temperature differences that may indicate moisture accumulation or areas of poor insulation. In the summer, when the ambient daylight is abundant, use direct sunlight to highlight any discolorations, cracked or missing shingles, and other surface anomalies. Equipping yourself with a digital camera or smartphone to photograph areas of concern will provide you with visual documentation that might later prove beneficial if professional repairs are needed.
Understanding your local weather conditions before starting is equally important. Summer heat can cause roofing materials to expand, which might mask or exaggerate certain issues such as shifted nails or melted sealant. It is advisable to inspect your roof during a period of mild weather, ideally on a cooler morning or late afternoon when the roof is less likely to be affected by the peak sun. Furthermore, planning your inspection route around the property ensures that you systematically evaluate every area of the roof without missing subtle details. Always notify someone in your household or a trusted neighbor about your inspection plans. This way, if an emergency occurs, someone will be ready to call for help.
Key Takeaways: – Ensure you have complete safety gear including a ladder, harness, and protective clothing. – Gather necessary inspection tools such as an infrared thermometer, flashlight, and digital camera. – Schedule your inspection during favorable weather conditions and inform someone about your plans.
Ground-Level Assessment What to Look for During Your Roof Inspection
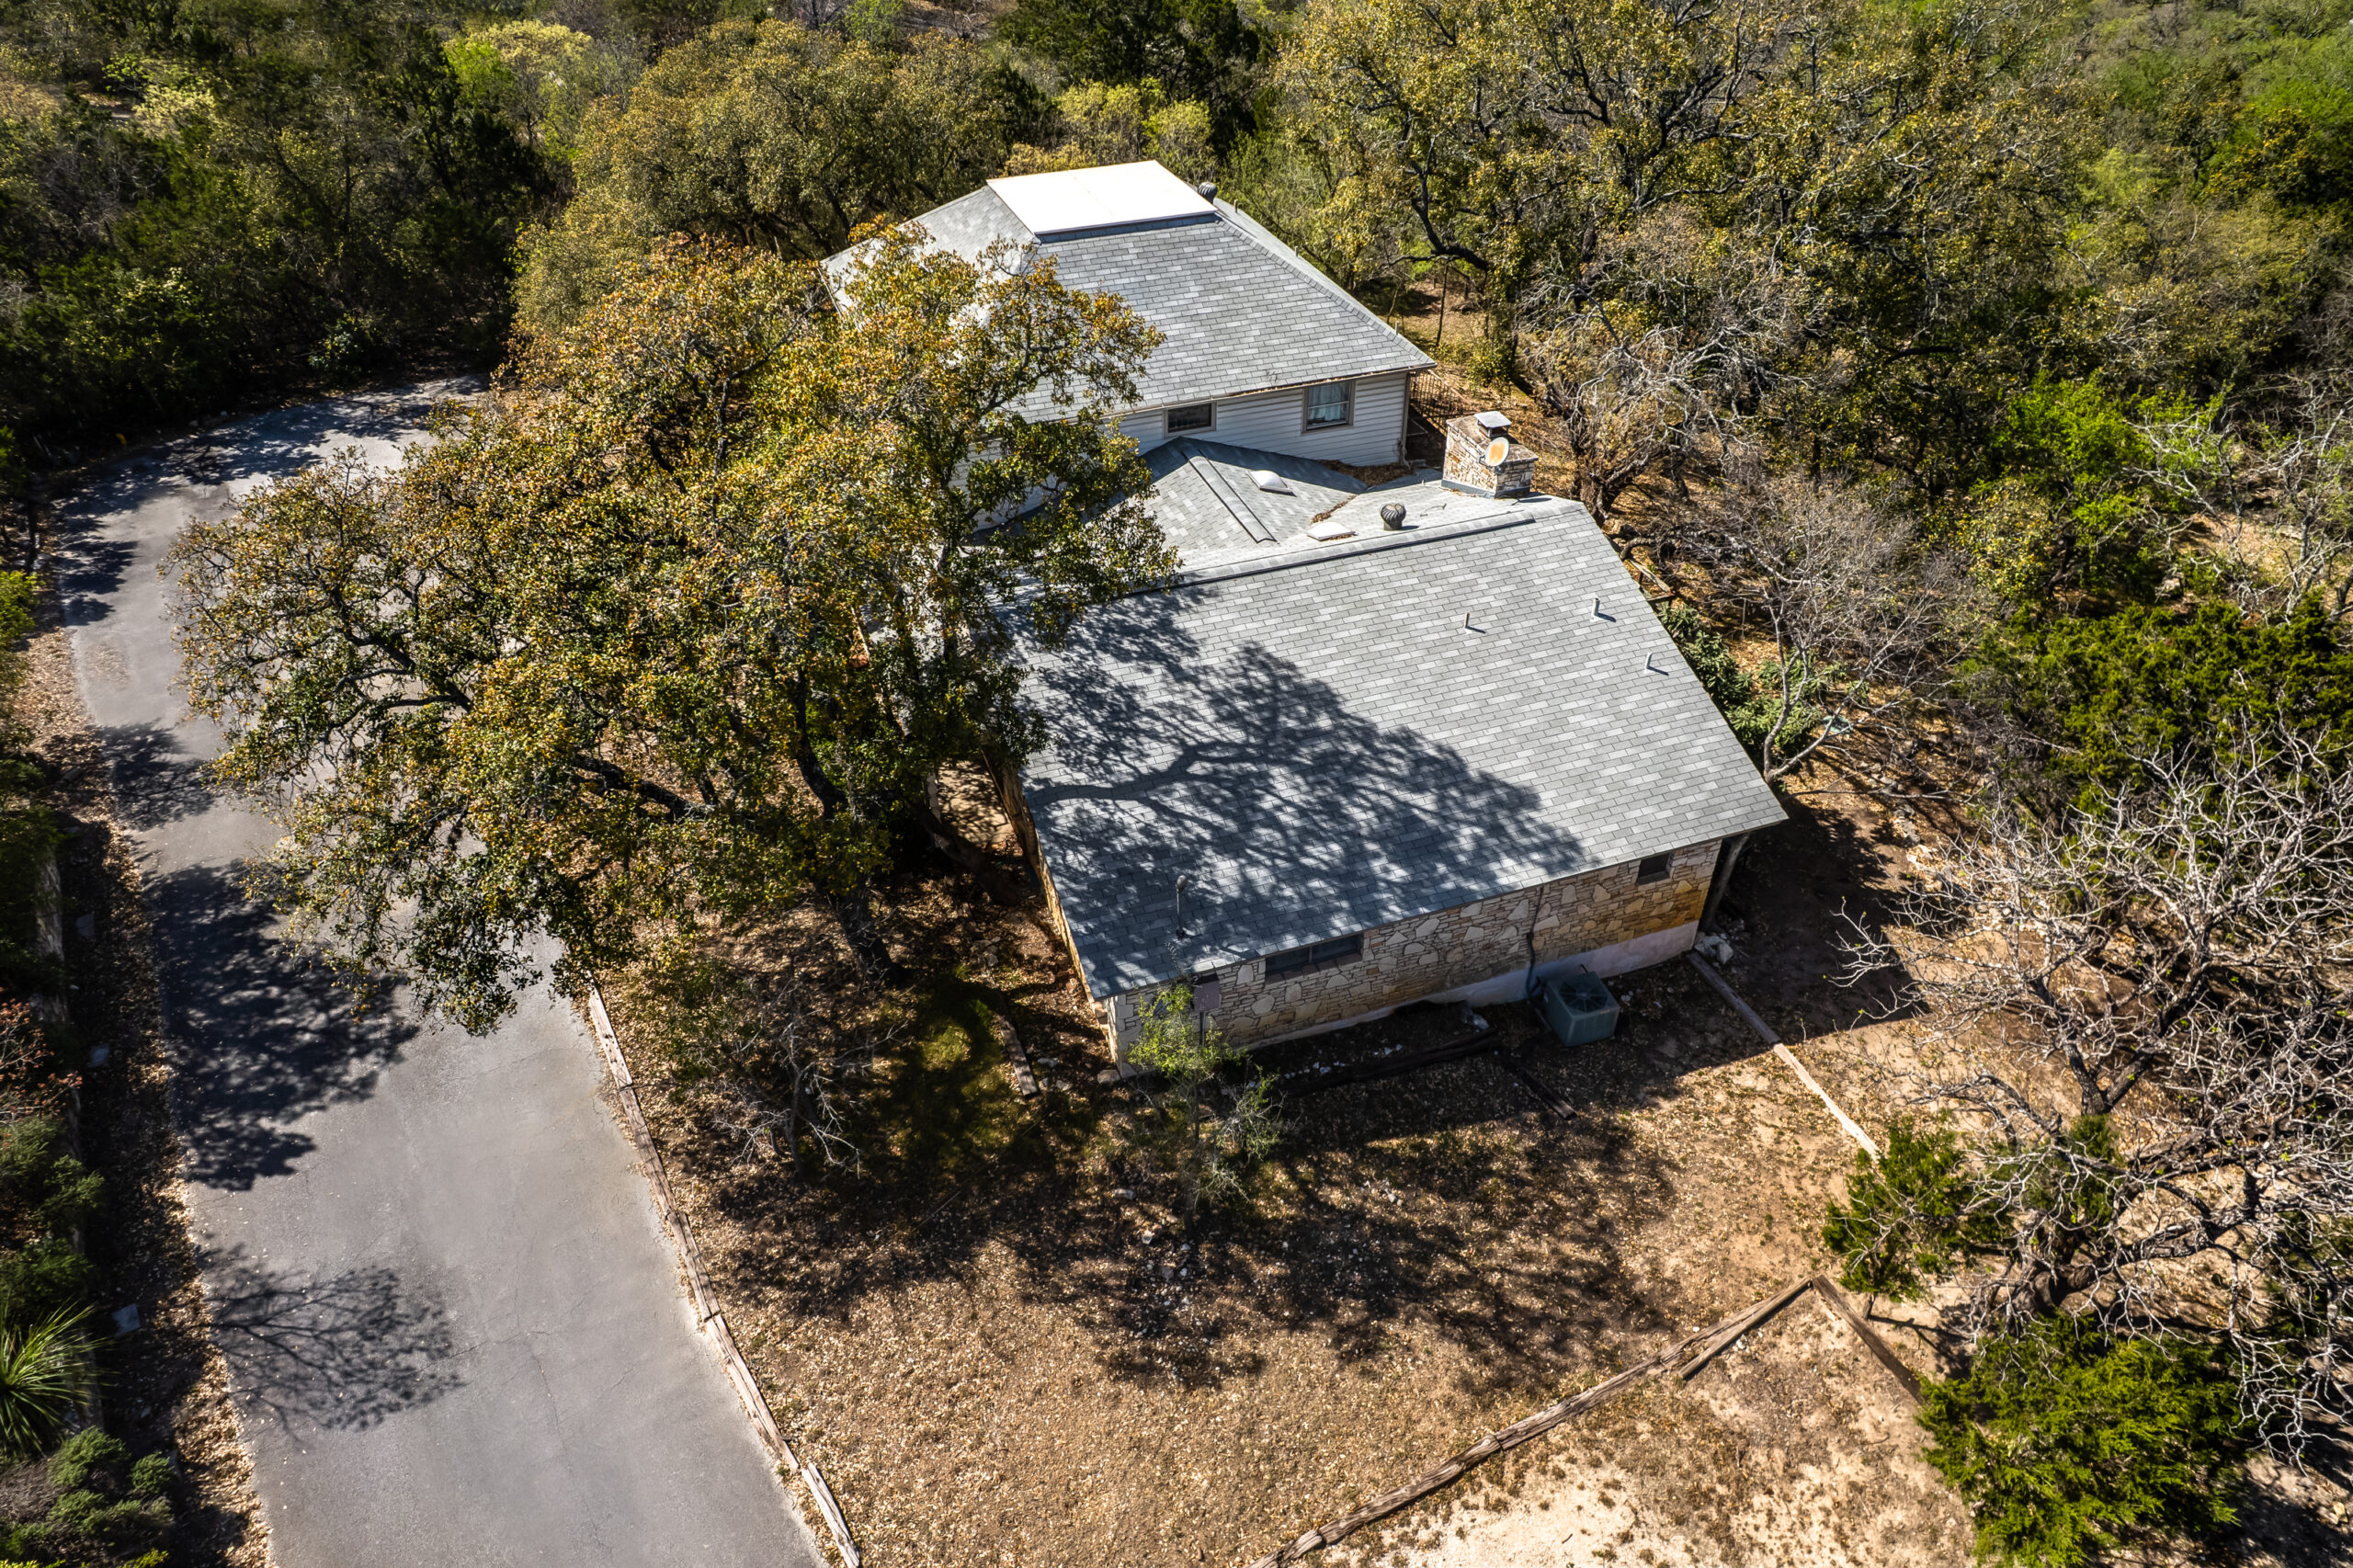
A thorough ground-level assessment provides a preliminary overview of your roof‘s condition, allowing you to identify potential issues even before climbing onto the structure. Begin by examining your roof from a distance using binoculars or a high-resolution camera. This approach enables you to spot obvious shingle issues, such as cracks, missing pieces, or curled edges, which are often precursors to leaks and water damage. It is also important to look for any discolorations that could be the result of excessive sunlight exposure, biological growth, or mold.

Pay close attention to your gutters and downspouts during the ground-level check. Blockages or accumulated debris can indicate a recurring problem, as clogged gutters often lead to water backup that affects the roof’s integrity and the home’s foundation. Inspect the condition of your siding and eaves for any water stains or signs of rot, as these could be a visible indicator that water is not being properly channeled away from your home. Sagging areas or drooping edges along the roofline, whether observed from siding or trees, should trigger concern, as they may signal structural deterioration of the underlying roof deck.
Additionally, evaluate external roof components such as flashing around chimneys, skylights, and vents. From the ground, it’s possible to see if these areas are rusted, misaligned, or if there have been any signs of water penetration. Vegetation growth, including moss and lichen, could also be prominent on older roofs, particularly those constructed with slate or metal. These plants are not just an aesthetic problem; they can hold moisture against the roof surface, thereby accelerating the wear and tear caused by water damage and contributing to mold growth. Ensuring that your roof has a clear line of sight—free from overhanging trees or structural obstructions—will help maintain adequate drainage and ventilation.
Key Takeaways: – Use a fish-eye view from the ground to detect shingle deterioration. – Gutters, downspouts, and siding should be examined for water stains and rot. – Vegetation growth and structural irregularities can indicate more serious underlying issues.
Close-Up Roof Surface Examination What to Look for During Your Roof Inspection
Once you’ve completed the ground-level inspection, the next step is a close-up examination of your roof‘s surface. This stage involves getting up close to assess individual roofing components in detail. Start by identifying any cracked, damaged, or missing shingles. Asphalt shingles can become brittle over time, especially under the influence of ultraviolet rays during intense summer heat. Even a single compromised shingle can lead to water leaks that cause extensive interior damage over time if not repaired promptly.

Examine the flashing around chimneys, vents, and skylights meticulously. Flashing, typically made of aluminum or copper, is designed to direct water away from vulnerable seams. Over time, repeated exposure to heat, moisture, and rust can cause the flashing to corrode or detach, creating gaps that allow water ingress. Additionally, check for granule loss in asphalt shingles—a clear sign that your roof is aging or has been stressed by weather extremes. Granule loss reduces the protective layer against sunlight and leaves the shingles susceptible to further damage. Look for popped nails or loose fasteners that may compromise the overall integrity of the roof. Loose nails can often lead to shingle displacement or even create entry points for pests.
Furthermore, inspect the seals around roof penetrations, especially in areas where cables, satellite dishes, or solar panels are installed. Over time, the sealant material can degrade and fail, particularly under high summer temperatures where expansion and contraction cycles are more frequent. When inspecting these seals, pay attention to any uneven surfaces or bubbling, as these are signs that moisture may have infiltrated the roofing layers. Using a high-quality sealant during patch repairs or re-sealing these vulnerable points will help extend the lifespan of your roof. The benefits of a meticulous close-up inspection include preventing minor issues from escalating into expensive repairs and ensuring that every component of the roof remains secure and watertight.
Key Takeaways: – Inspect shingles closely for cracks, damage, and granule loss. – Check flashing and sealant around penetrations for corrosion and wear. – Identify and secure loose fasteners and popped nails to prevent leaks.
Attic Clues What to Look for During Your Roof Inspection Internally
The attic is not only a space for storage; it is also a hidden indicator of your roof’s condition. Begin your internal inspection by detecting water stains or damp insulation. When you observe discoloration on the insulation or ceiling, it is often a sign of roof leaks that have penetrated the outer layers. Damp or wet spots on the attic floor can lead to mold growth, adversely affecting both air quality and structural integrity. Use a flashlight to inspect dark corners and ensure every inch of the attic is well-lit.

Next, search for beams of light penetrating through the roof. If you see unexpected light beams during daytime inspections, it may indicate holes or gaps in the roof deck that are allowing daylight to filter in. These would typically be areas where shingles are missing or where water damage has weakened the structure. Concurrently, pay close attention to any signs of mold or mildew growth in the attic. Mold not only damages building materials but also poses significant health risks. Insufficient attic ventilation can exacerbate these issues, so verifying that vents are unobstructed and working properly is essential.
Another aspect to consider during the attic inspection is the presence of pest infestations or nests. Rodents, birds, and insects are attracted to the warmth and shelter of the attic. Their activity can lead to chewed wiring, insulation damage, and further water penetration. Unwanted pests might also indicate breaches in the roof’s integrity that allow them entry. Therefore, observing the extent of nesting and droppings in the attic is critical. Adequate insulation and sealed entry points can greatly reduce the risk of infestations, thereby preserving the quality of your roof and home environment.
Key Takeaways: – Water stains and damp insulation in the attic typically indicate underlying roof leaks. – Light beams and mold growth signal holes and poor ventilation in the roof structure. – Pests in the attic can further damage insulation and compromise roof integrity.
Summer Specific Diy Roof Inspection Tips for Homeowners
Summer introduces unique challenges as well as opportunities for roof inspections. Direct, intense sunlight in the summer influences both the roofing materials and the inspection process itself. One primary focus should be on assessing sun damage and the impact of UV rays on shingles. In hot climates, shingles may begin to show signs of wear faster due to rapid thermal expansion and contraction. This can accelerate aging and lead to problems like granule loss or brittleness. It’s crucial to check for surfaces that have become excessively faded or cracked as these may be early warnings of deterioration.

Another key tip for summer inspections is to check for heat-related expansion on roofing materials. Roofing components, especially metal roofs, can expand considerably under high temperatures. This phenomenon can create gaps around flashing areas or lead to misalignment in seams where several materials meet. During these inspections, use a flashlight to examine these areas in detail. Ensure that any sealants used on the roof, particularly around skylights and vents, remain flexible and intact despite the heat. If you notice that the sealant appears brittle or cracked, it should be replaced to prevent water penetration.
Ensuring that all vents are clear and functioning properly is another summer-specific consideration. Proper airflow during the hot months is essential to prevent the buildup of excessive heat in the attic, which could lead to premature aging of the roof structure. Equally important is preparing for the summer storm season. Sudden, high-intensity storms can expose previously unnoticed vulnerabilities, such as missing shingles or loose debris that may become hazardous. As part of your summer inspection, evaluate the impact of high temperatures on sealants around gutters, check for discoloration around the chimney area, and inspect the condition of soffits. These precautions will help you catch issues early and possibly save on costly repairs in the future.
Key Takeaways: – Summer heat accelerates shingle degradation and can cause noticeable sun damage. – Heat-related expansion in metal roofs and flashing gaps should be carefully checked. – Clear vents and proper sealant maintenance are critical during hot months to prevent moisture intrusion and interior heating.
Documenting Findings and Next Steps Diy Roof Inspection Tips
After completing your roof inspection, documenting the findings is the next crucial step. Keeping a well-organized record enables you to track changes over time and provides detailed information when consulting with a professional roofer. Start by taking clear, high-resolution photographs of all identified problem areas. Photographs should capture both close-up details and wider contextual views that show the location of each issue relative to the rest of the roof. This is particularly important for items such as missing shingles, damaged flashing, or localized water damage.

Next, make detailed notes of your observations. Use a dedicated notebook or digital device to record the date, time, and conditions during the inspection, as well as specific details about each defect. For instance, note if a specific area near a chimney has popped nails or if the gutter seems consistently blocked by debris. This detailed log will create a valuable timeline of your roof’s condition and help you assess whether issues are worsening over time. Categorize these issues by their severity—whether they require immediate repair or can be scheduled for routine maintenance. A well-documented inspection process facilitates clearer communication with both insurance adjusters and professional contractors.
Determine which repairs you can safely handle yourself versus those that require professional intervention. Minor issues such as replacing a few nails or reapplying sealant around skylights may be within the scope of DIY repairs. However, significant structural concerns or widespread water damage should prompt an immediate consultation with a professional roofing contractor. Also, document any irregularities you suspect might be impacting your roof’s overall integrity, such as potential water damage, mold in the attic, or pest activity. By proactively documenting these issues, you can prevent further deterioration and better plan your future roof maintenance or replacement projects.
Beyond visual documentation, keep a copy of any receipts for supplies purchased during the inspection and any professional estimates you receive later. These records not only help with budgeting but can also be useful for insurance claims if the damage appears to be extensive. Regular documentation, combined with the detailed inspection, transforms the process into a proactive roof maintenance log—a key tool in preventing emergencies. This methodical approach provides a clear roadmap for current and future interventions and ensures that nothing essential is overlooked.
Key Takeaways: – Document inspection findings with clear photographs and detailed notes. – Categorize issues by severity to help determine DIY repairs versus professional interventions. – Maintain records for budgeting and potential insurance claims, enhancing future roof maintenance.
Frequently Asked Questions
Q: How often should I perform a DIY roof inspection?
A: It’s advisable to inspect your roof at least twice a year, ideally in the spring and late summer. Regular inspections help catch early signs of damage like missing shingles or recurring water stains, preventing more extensive repairs later on.
Q: What are the most critical safety precautions during a roof inspection?
A: Safety is paramount. Always use a sturdy ladder, non-slip footwear, and harness systems if necessary. Additionally, avoid inspecting during high winds or wet conditions. Inform someone of your plans and consider having a spotter nearby for extra security.
Q: Can I use an infrared camera during a DIY roof inspection?
A: Yes, an infrared camera is very useful in detecting temperature variations caused by water infiltration or underlying structural issues. Peer-reviewed studies (e.g., by Smith et al., 2017) have shown that infrared assessments can reveal hidden moisture pockets before they become visible, thus preventing extensive water damage.
Q: What do light beams in the attic indicate during my inspection?
A: Unexpected beams of light in the attic usually indicate holes or gaps in your roof, possibly due to missing or displaced shingles. This is a sign that water may be entering your home, leading to damp insulation and mold growth. Addressing these gaps promptly can help avoid further roof degradation.
Q: How can I distinguish between minor and major roof damage?
A: Minor damage includes isolated issues such as a few cracked shingles or small areas of granule loss, which might be repaired with DIY methods. Major damage, however, involves widespread problems like sagging rooflines, extensive water damage, or significant missing shingles. When in doubt, it is best to consult a professional roofer for a comprehensive evaluation.
Q: What should I do if I notice mold or mildew in my attic?
A: If you observe mold or mildew, it’s an indicator of moisture issues likely stemming from roof leaks. Address the moisture source immediately and consider contacting a professional for both mold remediation and roof repair. This dual approach helps ensure that both the short-term mold problem and any underlying roof issues are resolved.
Final Thoughts
A well-executed roof inspection is an invaluable part of home maintenance. By following the comprehensive steps outlined above—from safety preparations and ground-level assessments to detailed close-ups and attic observations—you can confidently identify early warning signs of roof damage and address them before they escalate. Proper documentation of your findings supports effective communication with professionals and timely decision-making for repairs or preventive measures. Ultimately, keeping your roof in top condition not only enhances your home’s longevity but also safeguards your investment and ensures the safety of everyone under its cover.