Roofs can deteriorate from normal wear, building movement caused by construction projects or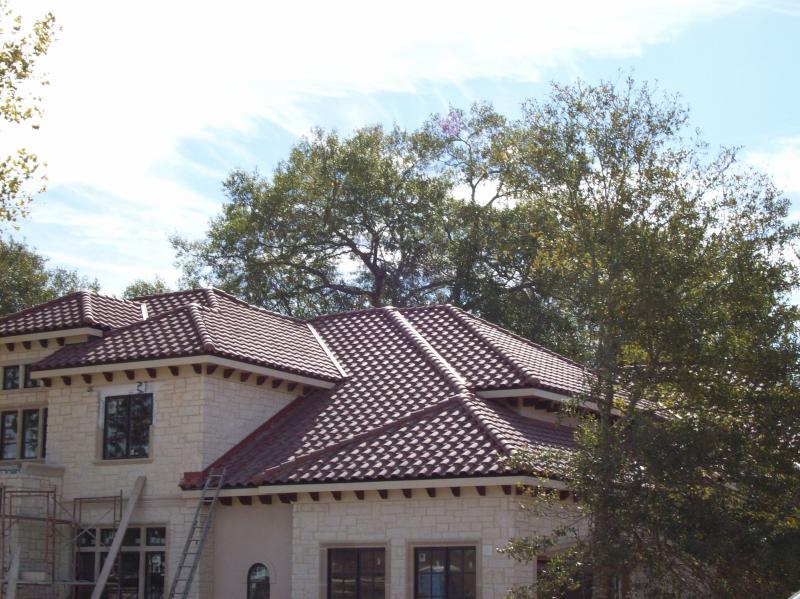 earthquakes, severe weather conditions, and improper design. It is in the best interest of any building owner to do as much as possible to preserve this structural covering.
Any repairs that are ignored when first noticed could result in future structural damage. It is always a good idea to call a professional to perform an inspection and make any necessary repairs; however, there are times when these experts may not be immediately available. Under such circumstances, it may be up to the building owner to at least prevent the damage from getting any worse.
Following is some DIY information that could be very useful when inspecting the roof for damage.
Inspection Needs
Before any inspection, it is important to have another person available to assist in this task. All of the necessary tools and materials such as a ladder, safety harness and line, tape measure, camera, and screwdriver should be secured beforehand. Binoculars will also be needed if the inspection is done from ground level.
Safety
Safety should always be a top priority when doing anything on the roof. If sure footing cannot be assured, walking on the roof should be avoided. Instead, a sturdy ladder should be used or the examination should be conducted from the ground by using binoculars. If climbing on the structure is necessary, a safety harness should be worn and a line used for additional security. Carefully read the manufacturer’s instructions on how to use this gear properly.
Inspection
For a really good view of the roof’s surface, a close examination of the structure is required. When using a ladder to climb onto a roof, it should be stabilized by the person on the ground. Upon reaching the edge of the slope, it should be checked for any uplifted shingles or nail punctures. Each side of the slope should be checked for any breakage, scarring or lose shingles. Do not be alarmed if a few minor defects are seen.
Any roof made of slate will have to be checked from a carefully place ladder as this material should never be walked upon. Any evidence of weathering such as spongy scales along the edges, delamination, unusually thin material, or the spreading of white-colored mineral salt rings across the surface means the material needs to be replaced. It is also easy to detect if asphalt shingles need to be replaced by evidence of discoloration. For example, if the once black-colored shingles are noticeably brown or discolored in any other way, this means that they need to be replaced.
Finally, examine the various pipes that come through the roof as damage often begins here. Look for any kind of openings or signs of cracking and decay. Inspect around the chimney by using a screwdriver to poke through a small portion of the material to check for rotting wood as this is evidence of a possible chimney leak. If there is evidence of damage, then it is best to call a knowledgeable roofing contractor as soon as possible to ensure damaged items are properly repaired or replaced.
With the information provided above, it is possible to perform a simple DIY inspection of a roof. If any evidence of damage is found, a more thorough examination should be done by a professional contractor who will provide a written report of findings as well as an expert opinion about what type of repairs need to be done.
Contact Schulte Roofing For Any Roof Houston Questions!
Do you need a roof Houston company to make an inspection of your roof? Call Schulte Roofing at 800-367-7663 to help with any of your roofing needs or problems!