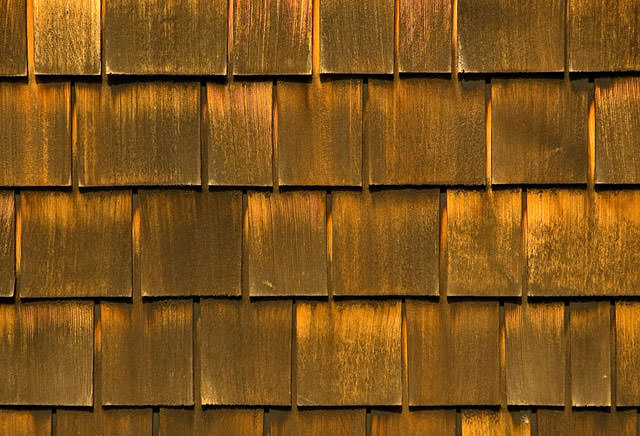
Wood shakes are thick, relatively rough and uneven shingles that are hand split on one (or both) sides. In this brief write-up, we are going to see how these age-old roofing materials are made, including easy tips on how you can make some for your own use or have a College Station roofer make some for you.
How Wood Shakes are Made
What you need
Froe – Simple tool with heavy blade used for splitting wood
Wooden mallet – For driving the froe into the wood
Wood – Red cedar, pine, cypress or redwood tree. The rule of the thumb applicable here is to choose a type of wood that does not easily decay and one which is relatively easy to drive the froe’s blade into. Use an ax to remove the heartwood from the wedge of the tool until you’re left with a block of wood that matches the desired shape of your shakes.
How to go about it
Step One
Position the froe about a quarter of an inch from the end of the wood (alternative size is 5/8 inches). Use the wooden mallet to knock the back of the froe to drive it in the wood.
Step Two
As you force the blade of the froe into the wood, the split will widen, allowing you to drop the froe further downwards. Continue pushing, pulling or twisting the froe from its handle until the wood splits almost to the bottom. With a little push or pull, the shingle should easily pop free of the larger wood block. If it doesn’t, kindly give it give it a couple more twists.
Step Three
Repeat the same process until you have enough shakes to meet your needs. You may want to adjust the width of each shake to suit your specific requirements.
Basic Steps Leading to the Installation
Wood shakes are applied over a rooftop in an overlapping fashion. They are normally fastened to a rooftop over lath or sheathing and fixed in their place using corrosion-resistant nails. Note that the size and type of nail can vary depending on the type of materials which you’re working on (thickness also matters).
Use a tape measure to determine the middle point of your roof. This point will serve as your guide line from which the first course and the alternating courses will be laid out. You need to fasten all your courses by driving the nails about one inch above the exposure line of the shake. Also, should be driven about 3/4 inch from the edges of the shingle.
Layer another course over the first course. This helps increase the roofs water resistance. This second course should also be fastened using corrosion-resistant nails. All you have to do is ensure consistent spacing between each shingle and the offset joints between shingles (about 1.5 inches).
Get on to the third course and work your way up until you reach the ridge line. Follow the same process until the whole roof is well covered.

So, that’s it. The whole process of preparing and installing wood shakes discussed in brief. Hope you’ve enjoyed reading this article. For more information on this walk through, contact Schulte Roofing, The Home of the Bulletproof Roof® Guarantee.