For most kids (and most adults reminiscing about their childhood), few things are cooler than an outlandish playhouse they can call their own. The bigger the better—with all the bells, whistles, nooks, and crannies one can dream of. Pulleys, secret passageways, fire-house poles, wrap-around porches, spiral staircases, rope bridges, bean bag chairs, mini-fridge full of soda…the possibilities are endless. Be it simple or extravagant, on the ground or high up in a tree, a sprawling woodside-wonder or a cute one-room oasis, the playhouses all share one thing in common: They’re a child’s place to let their imagination run wild, a special space to call their own, and a place that breeds endless creativity and independence.
A playhouse for your children doesn’t have to be a major chore. You don’t need to employ an army of contractors, shell out thousands of dollars, or hire an architect to dream up plans that would put the Colosseum to shame. Use what you already have, be resourceful, put in a little effort and you’ll have yourself a playhouse any kid would be lucky to call their home away from home.
10 DIY Tips and Tricks for an Awesome Playhouse:
1) — USE WHAT YOU ALREADY HAVE
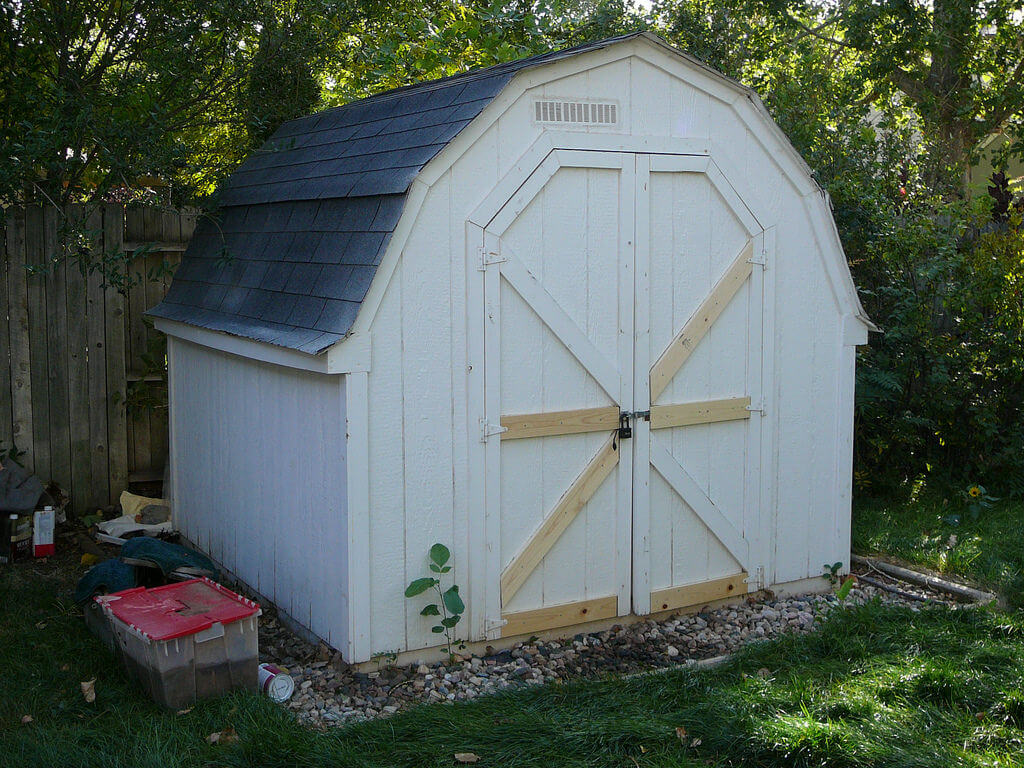
Take a tip from this family who wanted to create a whimsical playhouse for their daughters and did so by converting an old shed in their backyard into a an adorable play-haven. If you have a shed you no longer need or can do with out, or one you’re not even using, put it to work and let this be the start of your playhouse. Recycle wood from a different structure you no longer need. Convert old window shutters into a western saloon-style swinging door. Take inventory of what you do have and dream up ways to put these items to work. Not only will it save you money, but it can lead to the most creative and eye-catching solutions.
2) COME UP WITH A LIST OF THE YOUR MUST-HAVES
This is the fun part! Involve your children or let out your inner child, but dream up a list of the absolute must-haves your playhouse will need. Are your children aspiring thespians? Do you need a stage? Are they readers? Do you need a cozy hammock they can curl up in with a book? Decide all the things you have to have so you can cater your energies to those aspects. You may add more later or have to cut some, so it’s best to decide in the beginning what you absolutely need.
3) DRAW UP A GENERAL PLAN
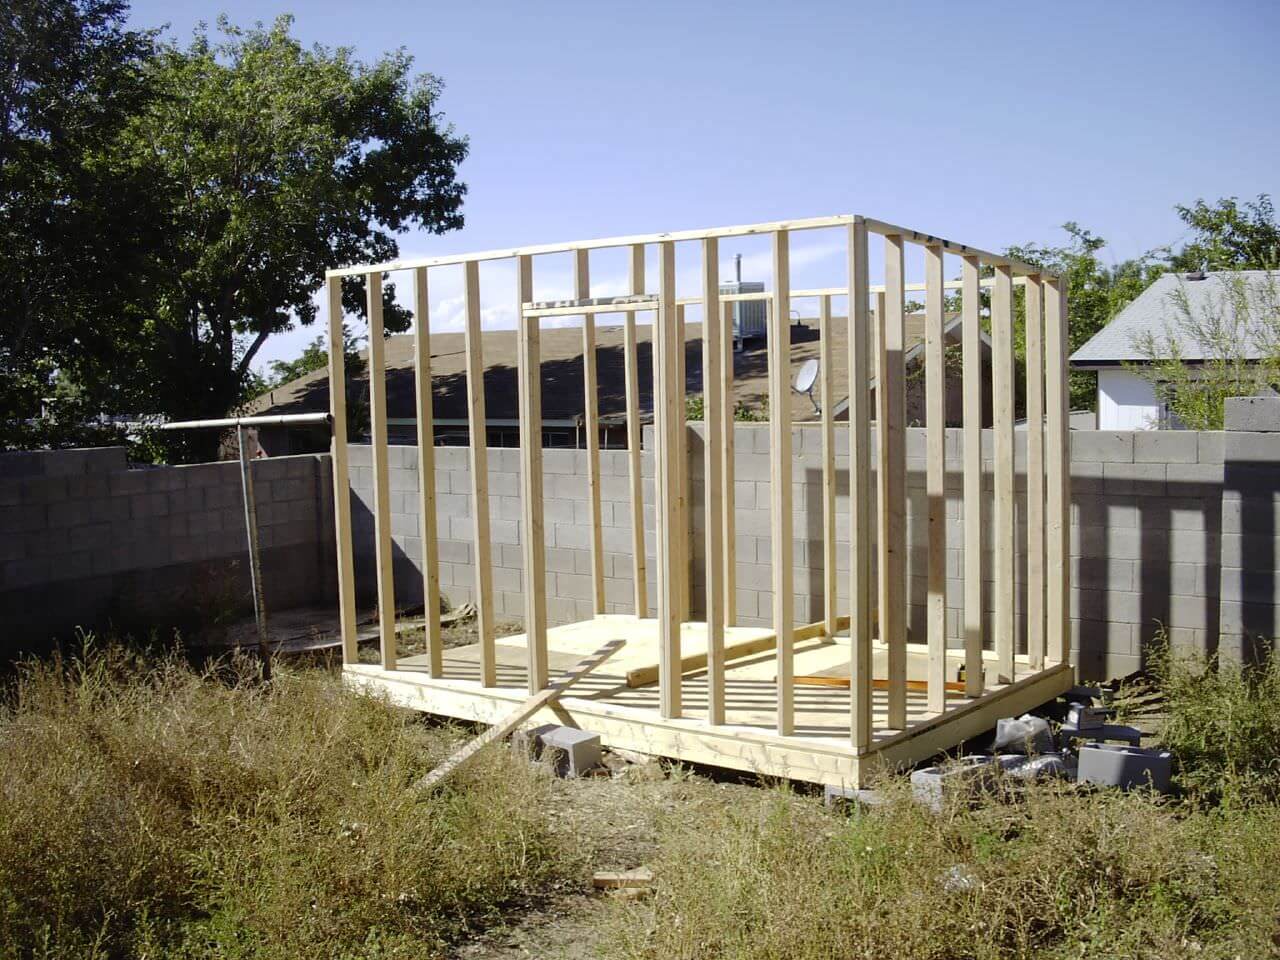
Now’s the chance to decide whose help you’ll need to complete your vision. If you’re handy yourself, great! If you need to ask your home-improvement savvy father or your neighbor, do it! Pool your resources! And if you need to hire someone, seek recommendations from friends and get price quotes. Draw up a general plan of how you want your playhouse to look when it’s completed and show it to everyone who is helping to see if there are any logistical issues that will help you complete your house most efficiently.
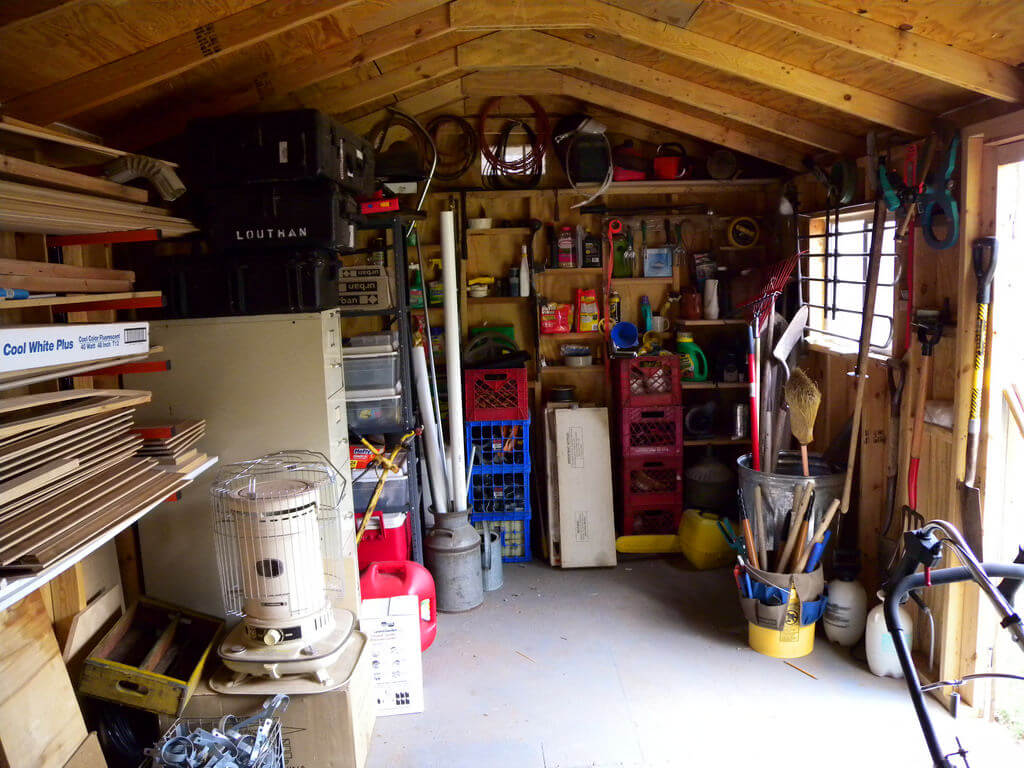
4) CLEAN UP AND LAY YOUR FOUNDATION
Time to get started! If you’re using an old shed like the family in the blog did, now’s the chance to clean it out. Remove any old siding you won’t be using or you’ll be replacing, clear the surrounding area of any hazardous (or ugly) materials. Start with a blank canvas! As the family in the blog post did, if you intend to add a deck, now’s the time to get started on the deck’s foundation and add new, clean siding to the outer exterior. Consider using wind resistant and impact resistant shingles so the playhouse will stand strong when the next storm rolls in. Also, if energy-efficiency is your goal, consider solar panels on your playhouse that create a source of power for your main house like this family did here. Economical and practical!
5) PAINTING
Nothing makes an old shed look brand new quite like a good paint job. Slap on a fresh coat of paint in whichever whimsical color speaks to you, and your playhouse will start taking shape. Bright white will pop and seem inviting, but a darker color will hold up in the elements better. If you pick a neutral color, consider spicing it up with colorful shutters or doors. And don’t ignore the possibility of chalkboard paint!
6) DOORS
What sort of door do you need on your playhouse? Does it need a lock, do you need tiny child-friendly doors like the family in the blog used? Curtain door? Screen door? Beads? Are you recycling old doors that also need a fresh coat of paint? Doors are important! Make sure you choose one that fits your needs.
7) DECORATIONS: LIGHTING, CARPET, SHELVES
Now that the base is set, it’s time to add the embellishments! What light fixtures do you need? Do you have a power source in your playhouse? Would motion-detector or solar lights be viable options? A ceiling fan? A lantern? Paper lanterns are cheap and stylish indoor-options, but a nice outside lamp can be a great focal point on your house. Do you need carpet? An indoor/outdoor rug? Consider materials that will hold up well—that can handle fluctuating temperatures and the possibility of getting wet. Consider options for storage as well like shelving, or benches with storage under the cushions. Chances are, your playhouse isn’t a huge space so you’ll need to take advantage of every square inch.
8) FUN FINISHING TOUCHES
Now for the fun part—the finishing touches! Time to bring in the furniture—the tables, and chairs. Bean bags? A small TV? A hammock? A play kitchen or an arts and crafts station? Hang your chalkboards and set up your easel. Bring in the binoculars, fill the book shelves. If you have a stage-area like the family in the blog did, now’s the time to hang your stage curtain. Do you have pictures to hang on the wall? A welcome mat to place at the door? Rope lights to hang? You’re almost there, don’t skip the step that will help personalize your house and really make it special.
9) NAME YOUR PLAYHO– USE
When everything is set up just how you like it, come up with a great name for your house. Like beach-house names in a seaside town, come up with something cute, personable and memorable. Be funny, playful, or cute! The family in the blog named there’s Peanuts and Boots. Construct a nice sign with your playhouse name and let it serve as the final punctuation on a job well done!
10) ENJOY YOUR NEW RETREAT

Whether you’re curling up in the hammock with your children, or watching them put on a show, it’s time to enjoy the playhouse. Its use will morph and change as your children grow, but their playhouse will forever be special. Show it off to neighbors, send pictures to friends, but most importantly, let the playhouse serve to expand and grow your children’s imaginations. What better place to dream than in a playhouse all their own?
Need help identifying the best shingles for your playhouse? Take a look at our 3D visualizer and preview the look or contact Schulte Roofing for a little help.